- Chainsaw Man
- Resident Evil
- Street Fighter
- Spy x Family Figures
- Azur Lane
- Final Fantasy
- Dragon Ball
- Naruto
- Neon Genesis Evangelion
- Nier: Automata
- Kuroinu Figures | Olga Discordia Dark Elf
- Queen Pharnelis-Goblin
- Non Virgin Bunny Girl
- Prison School
- The King of Fighters
- One Piece
- Figure Heads & Accessories
How to Paint an Anime Model Kit Without Hiding Fine Detail

Understanding how to paint an anime model kit is largely an exercise in controlling paint thickness while protecting the sculpt underneath. Anime faces, hair strands, armour edges, clothing folds and mechanical panel lines often rely on very shallow detail. Heavy primer, wet colour coats or repeated corrections can soften those features until the finished model looks less precise than the original plastic.
A clean result comes from preparation and restraint. Identify the plastic, remove visible mould lines, test the paint system on spare runner, separate parts according to colour and access, then build coverage through several thin layers. Paint should make the character easier to read rather than covering the information already created by the sculpt.
The same principle applies to character kits, robots and the many Bandai model kits that already use strong colour separation. Full repainting is not always necessary. Sometimes selective colour correction, careful shading and a controlled final finish produce a more convincing result than coating every part simply because paint is available.
Choose the final visual style before choosing the paint
Decide what the finished model should feel like before opening the first colour. A factory-clean anime figure, a softly shaded character, a weathered mobile suit and a highly stylised display piece all require different painting decisions.
A clean anime finish usually benefits from smooth colour blocks, restrained shadows and a consistent surface sheen. Mechanical subjects can tolerate stronger edge contrast, panel variation and weathering because those effects support armour and machinery rather than skin.
Character faces and exposed skin need a much finer rhythm. Heavy shadow can make a stylised face look dirty or older than intended, while subtle colour around the cheeks, eyelids and lips can add life without changing the character design.
Create a simple colour map before painting. Mark the base colour, shadow, highlight and intended finish for each area. This prevents the face from ending matte while the neck becomes satin or the hands unexpectedly turn glossy.
The colour map also reveals which moulded colours already work. On many Bandai figure model kits, preserving a clean factory colour on selected parts can reduce unnecessary paint thickness and leave more attention for the areas that genuinely benefit from improvement.
Inspect the plastic before adding any coating
Preparation determines how clean the later paint layers can look. Dust, fingerprints and sanding residue can interfere with adhesion or become trapped beneath primer, especially on pale skin and glossy armour.
Wash unassembled parts only according to the recommendations for the kit and the paint system you plan to use, then allow every piece to dry completely. Clear parts, soft joint pieces and pre-painted faces deserve additional care because they may react differently from ordinary rigid plastic.
Use side lighting during inspection. A mould line that seems almost invisible under flat room light often becomes obvious once primer creates an even surface.
Remove seams gradually with fine files or abrasives. Around hair, fabric folds and facial features, preserve the sculpted edge instead of sanding broadly across the area.
Deep scratches should be corrected through progressively finer smoothing rather than hidden beneath a thick primer coat. The cleaner the plastic becomes now, the less paint will be needed later.
| Surface | Main preparation goal | Common painting risk |
|---|---|---|
| Anime face | Protect eyes, lips, nose and shallow sculpted edges | Primer softens delicate facial definition |
| Hair | Clean seams between individual locks | Paint gathers at sharp tips |
| Armour | Remove gates and restore panel edges | Wet coats pool inside recesses |
| Flexible joint | Confirm paint compatibility and clearance | Coating cracks or makes movement too tight |
Plan subassemblies around painting access
The assembly order in the instruction manual is designed to build the model, not necessarily to make painting easier. A shoulder plate may hide part of the torso, hair can cover the neck and a skirt or coat can make the inner legs difficult to reach.
Dry-fit the major parts first and study where the brush or airbrush needs access. Create temporary subassemblies that keep important areas exposed while still allowing you to check alignment.
Some seams need to disappear before painting, while other parts should remain separate until the colour work is finished. Making that decision early prevents a common problem where a beautifully painted surface must later be masked and repaired simply because another component blocked the assembly.
Mount small pieces on clips or holders using connection points that will remain hidden. Keep left and right components labelled, especially when hands, armour panels or accessories appear almost identical.
A quick photograph of the runner number or dry-fit stage can save considerable time later. Organisation protects the finish because it reduces unnecessary handling once the paint is already complete.
 Use primer as a diagnostic layer, not a substitute for preparation
Primer creates a consistent surface and makes scratches, seams and uneven sanding much easier to see. It should reveal preparation problems rather than bury them.
Apply a light, controlled coat and inspect the part after it dries. If a seam remains visible, correct that specific area and prime again locally instead of adding repeated heavy layers across the whole piece.
Primer colour also changes how efficiently later colours build. Grey works well for general inspection and mid-tone finishes. White supports bright colours, pale costumes and lighter skin tones. Black can deepen shadows and provide a useful base for darker armour or metallic effects.
A mixed kit may benefit from more than one primer colour. Although this requires extra planning, it can reduce the number of opaque colour coats needed afterward and help preserve the sculpt.
Thin layers preserve the information already sculpted into the model
Whether you use a brush or airbrush, the goal is controlled coverage rather than immediate opacity.
For brush painting, the paint should flow from the brush without flooding every recessed line. Several light passes usually preserve hair edges and costume seams better than one heavy application.
With an airbrush, adjust thinning, distance and pressure so the paint reaches the part as a fine controlled mist rather than a wet sheet. Allow one layer to settle before deciding whether more coverage is necessary.
Wet paint can appear uneven before it levels, so avoid chasing every visible difference immediately. Too many correction passes often create more thickness than the original colour problem justified.
Work from broad areas toward fine detail. Finish skin, clothing or armour blocks first, then move to eyes, insignia and smaller accents. This reduces the amount of masking required around details that are already complete.
Ventilation belongs to the painting method
Technique includes the environment in which paint is applied. Primer, thinner, clear coat and different paint systems can create very different levels of vapour and airborne material.
The UK Health and Safety Executive explains that solvent vapours can build up in enclosed spaces, with risk depending on the substance, application method, duration and ventilation. Spraying generally creates more airborne material than careful brush application.
Use a suitable painting area and extraction arrangement for the products involved. Keep ignition sources away from flammable materials and follow the product directions for eye, skin and respiratory protection.
A paper dust mask does not provide universal protection against solvent vapour. When a coating requires specific respiratory equipment, follow the stated protection requirements and make sure the equipment fits correctly.
Good ventilation also improves the finish itself. A controlled working environment reduces lingering overspray, makes curing more predictable and allows the painter to concentrate on the model rather than rushing through the session.
Anime faces need a slower and more deliberate rhythm
The face receives more attention than almost any other part of a character model, even when it occupies only a small percentage of the total surface.
Begin with an even skin base and establish the eyes before adding fine eyelashes, eyebrows and mouth colour. Check symmetry from ordinary viewing distance instead of judging everything through extreme magnification.
Micro-detail only helps when the expression still reads correctly as a whole. Two beautifully painted eyes that point in slightly different directions will remain more distracting than a simpler pair with perfect alignment.
Keep facial shading restrained. Anime faces usually rely on clean graphic forms rather than the deeper modelling used on realistic portraits.
A very subtle warm glaze around the cheeks can add life, while a heavy wash around the nose or mouth can quickly make the face look dirty.
Once the face feels right, protect it with a compatible clear layer before handling surrounding hair, collars or accessories. A successful face should become the safest part of the project, not the area repeatedly exposed to corrections.
 Hair benefits from controlled contrast rather than heavy shadow
Anime hair often contains sharp sculpted locks that already create natural shadow. Paint should reinforce that structure rather than covering it with one uniform dark wash.
Use the base colour to establish the overall identity first. Then place deeper tone near the roots, underneath overlapping locks and around areas where hair turns away from the light.
Highlights can follow the direction of the strands, but they should remain consistent with the chosen lighting idea. Random bright streaks across every lock can make the hair look metallic rather than soft.
Keep paint away from the very tips when possible. Excess thickness collects quickly on narrow points and can make the strands appear blunt.
For pale, silver or white hair, subtle cool and warm variation usually creates more depth than simply adding grey.
Mask along the sculpt whenever possible
Masking becomes much cleaner when tape follows a physical boundary already present on the part.
Place the edge along a costume seam, armour panel or sculpted trim, then burnish gently with a clean tool. Heavy pressure can leave marks on delicate surfaces or lift previous paint when the tape is removed.
Apply colour away from the masking edge using light coats. This reduces the chance of forcing wet paint underneath the tape.
If a small bleed occurs, let the area dry fully and correct it with the base colour. Wiping or scraping wet paint usually enlarges the problem.
For repeated stripes, stockings, costume bands or symmetrical markings, measure from a central reference instead of estimating each side separately. Small alignment differences become surprisingly obvious on stylised character designs.
Protect moving joints from unnecessary paint thickness
Paint, primer and clear coat all add thickness. A peg or socket that moved perfectly before finishing can become too tight once several layers cover the friction surface.
Mask pegs, sockets and sliding areas whenever the connection remains hidden after assembly. This keeps the intended mechanical clearance intact.
After the paint cures, test movement gradually. Never force a joint because the outer finish looks complete. If resistance feels abnormal, separate the parts carefully and inspect the contact area.
Some internal joint surfaces are better left unpainted. A small hidden area of bare plastic is preferable to a flawless painted surface that chips every time the arm or leg moves.
Flexible components also need paint designed for their movement. A coating that works beautifully on rigid armour may crack when placed over a softer joint piece.
Broader series, character and finished-figure pathways are organised in the Anime Doll Brands & Series collection. That reference can help collectors separate painting technique from later decisions about character lines, finished figures and display planning.
Use surface sheen to tell different materials apart
The final clear coat does more than protect the paint. It helps communicate what each part of the character is meant to represent.
Matte skin absorbs light and keeps facial detail soft. Satin fabric can retain a subtle response without becoming shiny. Gloss works well for lenses, polished armour, boots or selected accessories when those surfaces are meant to reflect more strongly.
Applying one identical finish across the entire model can flatten the material story. A carefully painted eye loses impact when the surrounding skin reflects light at the same level.
Test the clear coat over the complete paint system before applying it to the model. Some combinations can change the underlying finish or cloud transparent parts.
Allow the model to cure in a clean, dust-controlled area. Dry to the touch does not always mean the coating has hardened enough for assembly, masking or repeated handling.
 Final assembly should protect the work rather than test it
Once the paint and clear coats have fully cured, plan the final assembly order before pressing pieces together.
Remove any masking from joint surfaces and inspect connection points for overspray. Support parts close to the peg or socket rather than applying force through a finished antenna, strand of hair or weapon.
Clean gloves can help with highly visible gloss or satin surfaces where fingerprints show easily. On matte finishes, gentle clean hands may provide better control when gloves reduce grip.
After assembly, inspect the complete character under the lighting in which it will normally be displayed. Small differences in sheen or colour often become easier to notice once the model is no longer separated into parts.
The finished result should make the character easier to recognise. Facial features stay sharp, colours separate clearly, joints still work and surface finish reinforces the materials rather than drawing attention to the painting process itself.
A finished character can become the visual reward beside hand-painted kits
Painting a model kit is satisfying because the builder controls every colour, shadow and finishing decision. A collection can become even stronger when those personal projects sit beside one carefully selected finished character that provides a clear visual anchor.
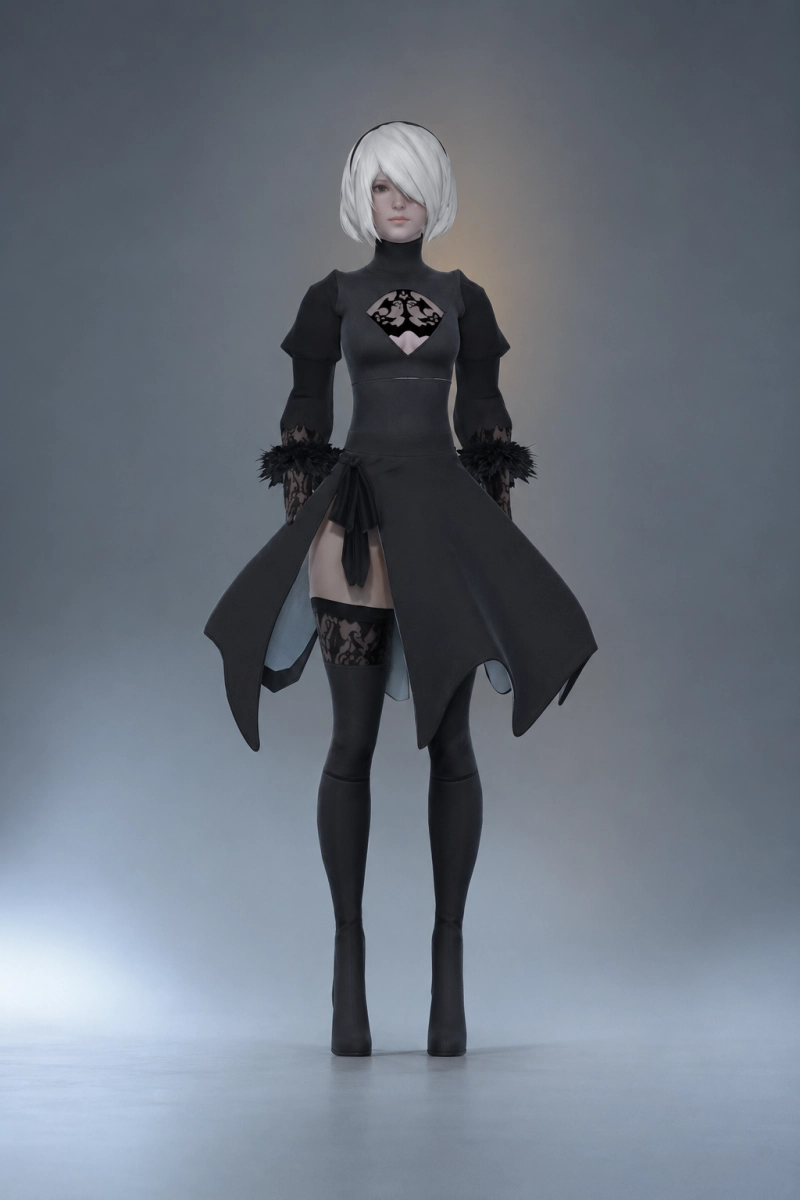
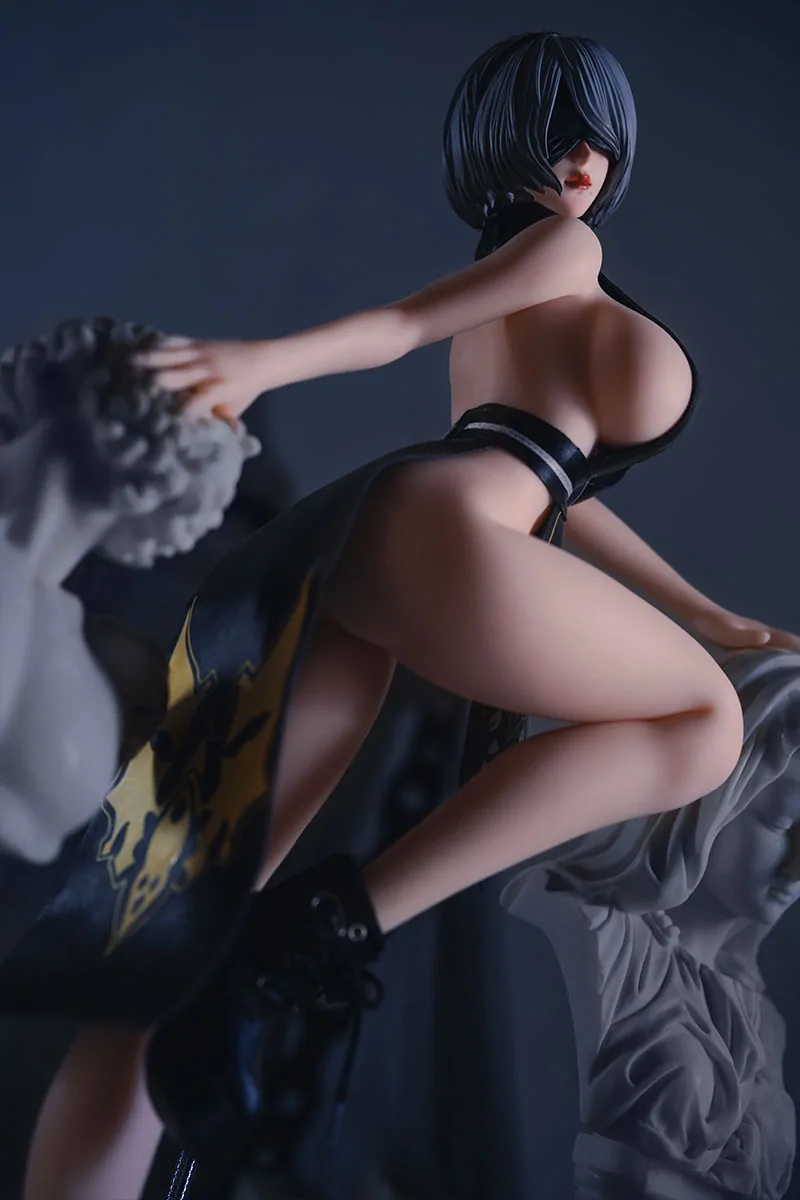
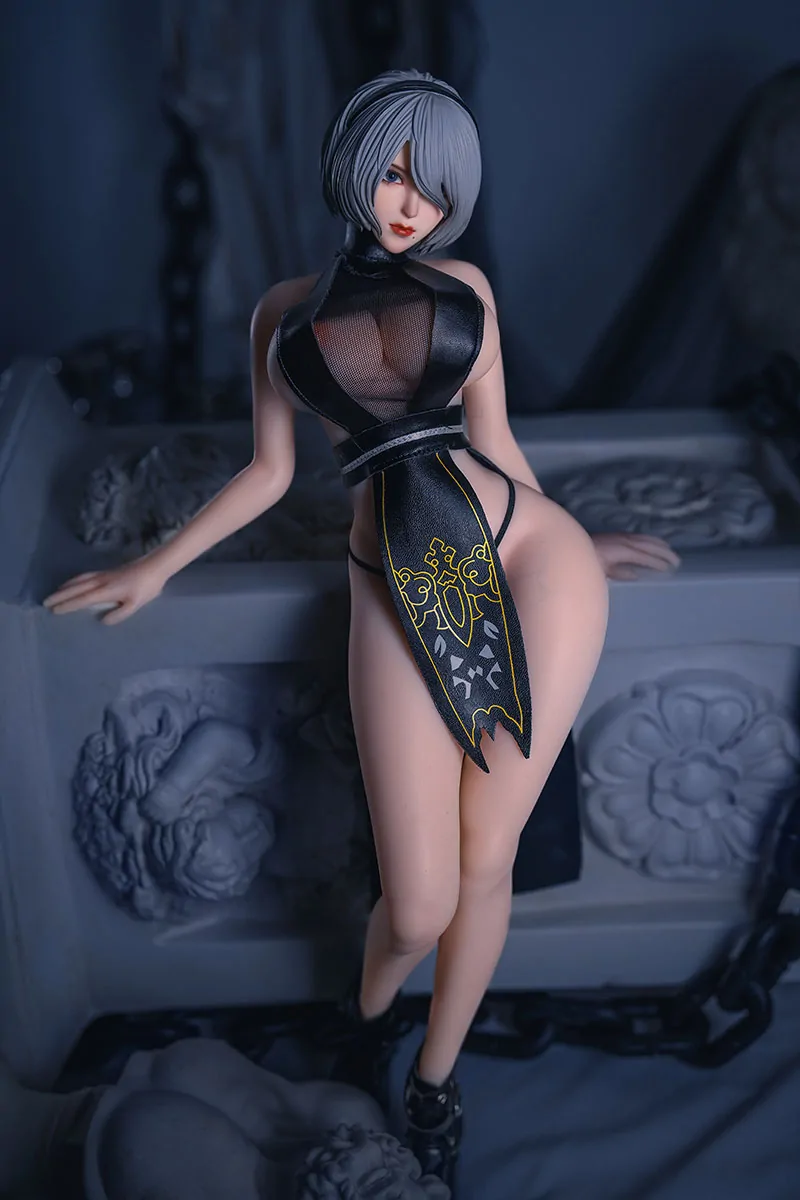
For NieR:Automata fans, the 2B figure offers exactly that kind of centrepiece. Her familiar blindfold, pale hair and black costume create immediate character recognition, while the mature body design gives the display a much stronger presence than another small kit occupying the same visual level.
The restrained black-and-white palette also makes 2B particularly easy to integrate beside hand-painted game and anime models. Dark mechanical subjects can echo her costume, while lighter armour or metallic finishes provide contrast around her without breaking the overall mood.
Her appeal goes beyond scale or colour. 2B already carries a strong combination of elegance, mystery and controlled confidence, which allows the figure to become the emotional centre of a shelf rather than simply the largest object on it.
For collectors who have spent hours painting smaller models, that contrast can be especially rewarding. The hand-painted kits show technique and personal interpretation, while 2B provides the recognisable character presence that pulls the complete display together.
Build a stronger character collection through the LORIBEAR shop
Explore the LORIBEAR shop when you want a finished anime or game heroine to complement your own painted model kits. Instead of choosing another small object simply to fill shelf space, you can compare characters whose faces, clothing and personalities are strong enough to become genuine centrepieces.
Some LORIBEAR heroines create a softer and more affectionate atmosphere, while others bring confidence, elegance, mystery or stronger authority. 2B works beautifully in a restrained game-themed display, but the right addition is ultimately the character whose face and styling strengthen the collection you already built.
Consider the colours around the intended display area before choosing. A black-clad heroine can anchor bright model kits, while a character with stronger colour may become the contrast inside a predominantly neutral collection.
The goal is not to compete with your painted work. A strong finished character should make those projects look even more intentional by giving the shelf a clear visual hierarchy and a reason for the different scales to exist together.
LORIBEAR character figures let collectors extend the same eye for colour, silhouette and character identity used during painting into the finished display itself.
Anime Model Kit Painting Questions
Must every anime model kit be primed?
No. Primer is especially useful when changing colour, correcting prepared surfaces or working with a paint system that needs stronger adhesion. Test the complete process on spare runner whenever possible.
Should a character face be airbrushed or brush painted?
Both methods can work. Airbrushing creates a smooth base and controlled shading, while a fine brush gives precise control over eyes, eyebrows and small facial accents.
Why can a joint become tight after painting?
Primer, colour and clear coat add thickness to friction surfaces. Keep hidden contact areas free from unnecessary coating and inspect the connection if movement becomes noticeably tighter.
How long should paint cure before final assembly?
Follow the paint manufacturer’s curing guidance and allow additional time when conditions are cool or humid. A surface can feel dry before it becomes hard enough to resist fingerprints and friction.
Why can a finished 2B figure work beside hand-painted model kits?
2B offers a recognisable face, restrained black-and-white styling and strong character presence. Used as a centrepiece, she can give smaller hand-painted projects a clear visual anchor without taking away the craftsmanship that makes those kits personal.